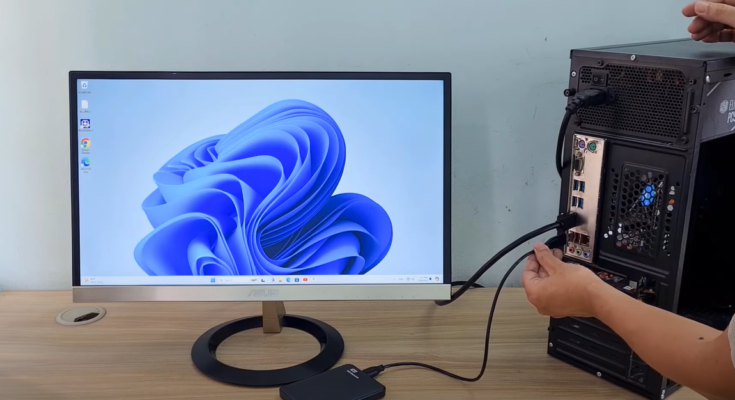
If you have an external hard drive and want to experience macOS, you’re in the right place. This guide will walk you through the steps to install macOS on your external hard drive.
Step 1: Prepare Your External Hard Drive
- Connect the Drive: Start by connecting your external hard drive to your computer.
- Open Disk Management: On Windows, access Disk Management to create partitions on the external hard drive.
Create Partitions
You will need to create three partitions with specific formats and sizes:
- EFI Partition: Create a partition of 100 MB, format it as FAT, and name it “EFI.” This partition is essential for booting macOS.
- Installer Partition: Create another partition named “INSTALLER.” This should be formatted as exFAT with a recommended size of 50,000 MB. This partition will help you install macOS.
- macOS Partition: The third partition will store the macOS operating system. Format this partition as exFAT (do not format it as NTFS).
Step 2: Add Necessary Files

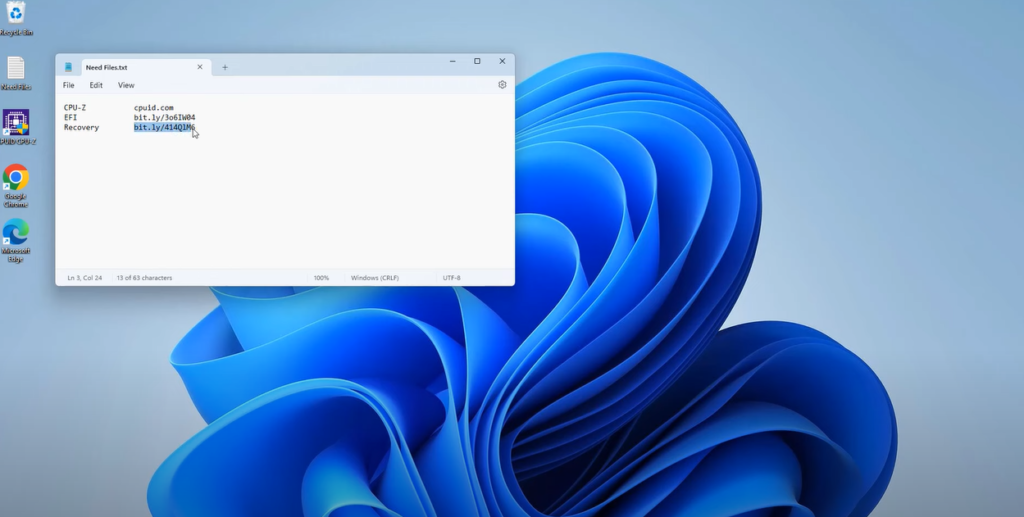
Use a tool like CPU-Z to identify your processor. For example, if your processor’s code name is Coffee Lake, you’ll need the appropriate boot loader.Download the Boot Loader
- Find the Boot Loader: Check the list of boot loaders for different processors. Ensure you download the one that matches your system configuration.
- Copy to EFI Partition: Once downloaded, copy the “EFI” folder to the EFI partition on your external hard drive.
Download macOS Recovery Package
- Obtain macOS Installer: Download the macOS Recovery package (e.g., macOS 13). You can choose a different version if desired.
- Copy to INSTALLER Partition: Paste the downloaded folder into the INSTALLER partition.
Step 3: Prepare for Installation
Connection Recommendations
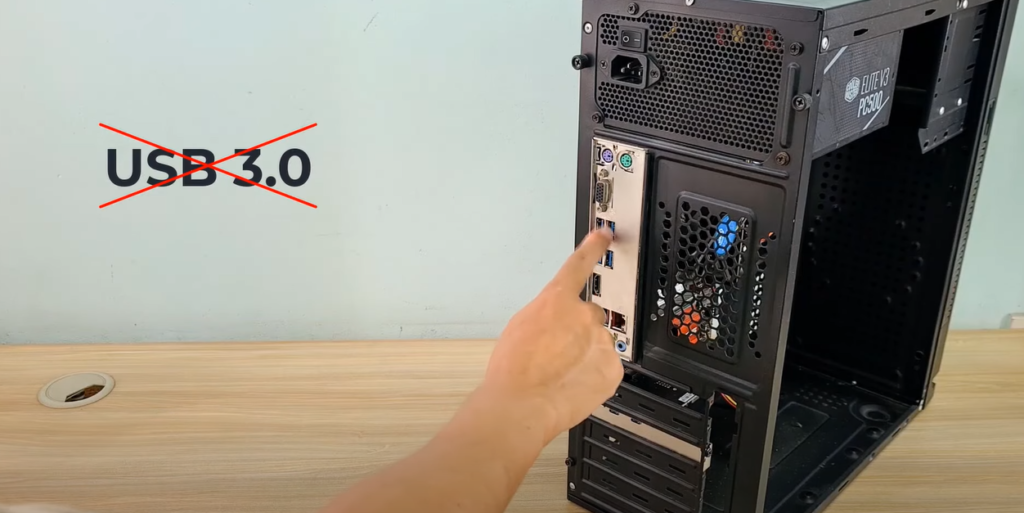
Ensure you connect your external hard drive to a USB 2.0 or Type-C port. Avoid using USB 3.0 ports for this installation. If necessary, use an adapter to connect to a Type-C port.
Change Boot Settings
- Access UEFI BIOS: Restart your computer and enter the UEFI BIOS settings.
- Set Boot Order: Adjust the boot settings to prioritize booting from the external hard drive.
Format the macOS Partition
- Format Before Installation: Select the macOS partition and format it as APFS (Apple File System). This step is crucial; formatting it as NTFS will prevent it from being recognized.
Step 4: Install macOS
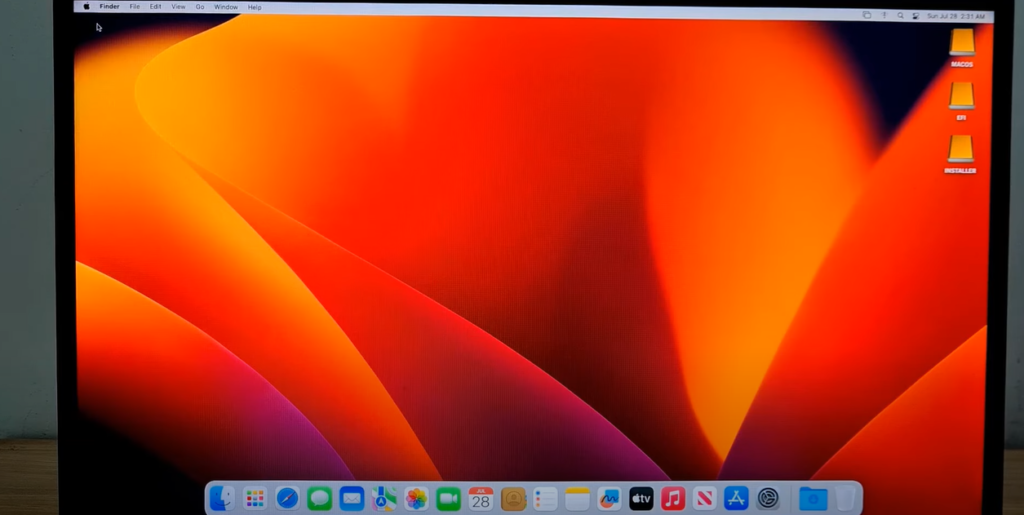
- Select macOS Partition: Once formatted, choose the macOS partition as the destination for the installation.
- Begin Installation: Follow the prompts to install macOS. You may need to wait for the setup screen to appear.
Initial Setup
During your first boot of macOS, you will be prompted to set up your account, time zone, and other preferences. Follow the on-screen instructions to complete this process.
Conclusion
You have successfully installed macOS on your external hard drive. This method also allows you to dual-boot Windows and macOS. Simply restart your computer and boot into Windows without changing the boot order in UEFI BIOS.
